
Windows 10 support ends tomorrow, but here’s how to get an extra year for free

Are you still using Windows 10 on your computer? Starting tomorrow, October 14, Microsoft will move the software to “end of life” status. What does that mean to you? While Windows 10 PCs will continue to work after that date, they will stop getting important security updates by default. This leaves you with three options if you want to make sure your computer stays secure:
-
You can choose to upgrade to Windows 11 for free if your computer is compatible.
-
You can buy a new computer with Windows 11 pre-installed (or choose an alternative, like a Mac or Chromebook).
-
Forget about Windows 11 for now and sign up for Extended Security Updates (ESU), which let you go for a year.
The latter option is easy — and can now be done for free in many cases — so we’ll focus on it here. We’ll walk you through the steps to keep Windows 10 on your PC… at least for now.
How to sign up for Windows 10 Extended Security Updates on your PC
We can question Microsoft’s motives for canceling Windows 10, even though it works fine on most older computers. But without these regular security updates, your computer will become increasingly vulnerable to malware with each passing week. To that end, enrolling in Extended Security Updates (ESU) will give you another year of safe Windows 10 use.
At one point, Microsoft suggested that a 12-month extension would require a $30 fee. Although this is still an option, there is now a free path for Windows 10 users in the US. Here’s how to achieve it.
Step 1: Make sure your computer is updated
You can find out if your computer is up to date by going to Settings > System > About, then scrolling down to see which version you’re running. If not, you’ll need to make sure you install all available Windows 10 updates as well.
Step 2: Make sure you are using an administrator account
If you share a computer with multiple people in your household, make sure you’re signed in to an administrator account. This is usually the first account created on the computer. You’ll know it’s the right choice when you see the word “Admin” below the name. (You can double check under Settings > Your Info.)
Step 3: Check if your PC is eligible to upgrade to Windows 11 (or not)
If you see an option to upgrade to Windows 11, just do so. It’s free and keeps you in the Windows loop. Otherwise, continue to follow the steps below so you can keep your computer safe with security updates.
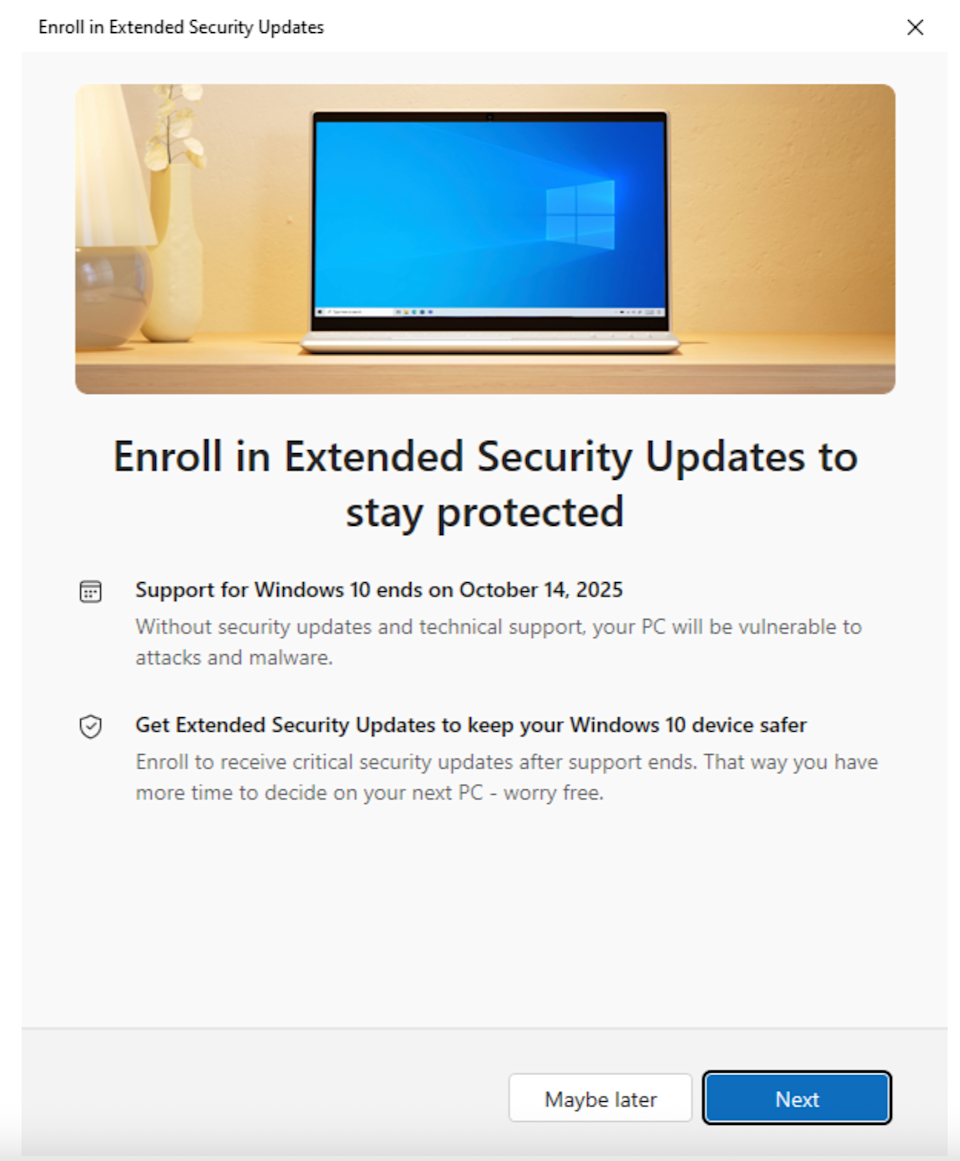
Step 4: Sign up for extended security updates
Register for ESU by selecting Update & Security from the Settings menu. Click on the “Register Now” registration link, as shown in the image below. Again, you may see an option to download Windows 11 if your computer meets the requirements (again, definitely do so if you see it).
Find out if you need to update your computer. (Screenshot/Engadget)
If you don’t see the “Sign up now” link, you may need to update and install the latest Windows 10 updates (as mentioned above).
By signing up for Extended Security Updates, you’ll have another year before you need to upgrade to Windows 11. (Screenshots/Engadget)
Step 5: Choose your upgrade method
The next step is to choose how you want to register, and you have a few options. The easiest way is to back up your computer settings. It’s free, but it takes some time as you’ll need to back up your data. Again, you’ll need to use your administrator account to get started.
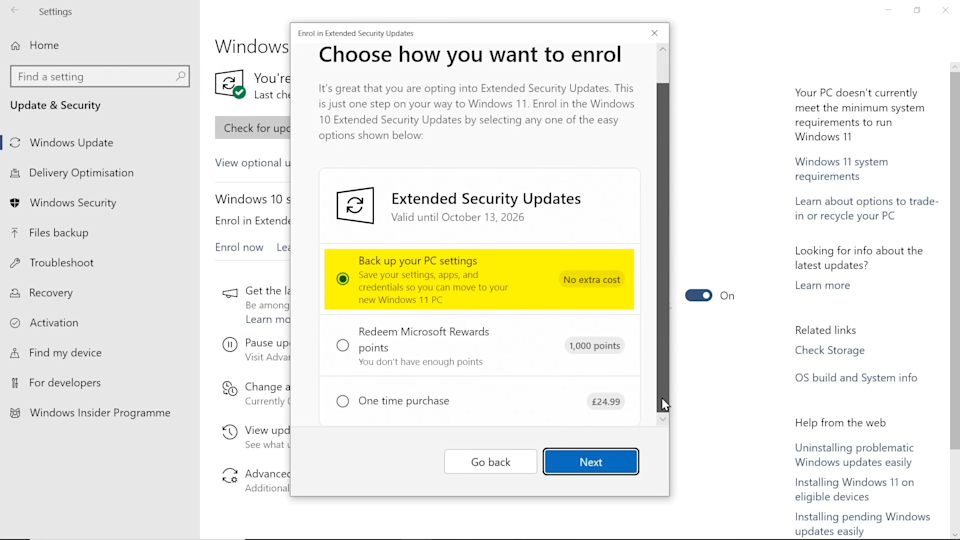
Make a backup of your computer before registering with ESU. (Explanation of computers via YouTube)
However, the free option here comes with a couple of downfalls, at least for users in the US. (European users will get the free option without any strings attached.) The first is that you’ll link your Windows login to Microsoft’s online cloud service. Most users have probably done this already (if they use CoPilot, Office 365, GamePass, OneDrive, or one of Microsoft’s various other online services). But if you specifically choose local Windows login, the price you pay for this “free” extension is joining Microsoft’s cloud-connected world.
Another potential issue is that the free backup only applies to the first 5GB of storage space. Anything more than that, and you’ll need to pay for Microsoft’s OneDrive services. But fortunately, you can turn off anything you don’t want to back up by going to Settings > OneDrive and toggling options like Documents, Photos, and Videos to reach the free limit to get started.
Once you log in, a window will appear saying “Add this device to receive extended security updates.” Click Add Device to register it. Click Done.
Note: Thanks to the YouTube PC Explainer channel, where we captured the above screenshot (since our test PC was already signed up for cloud backups, and didn’t provide the splash screen to choose options). You can watch their full video if you want to dive deeper into the process.
That’s it, you’re done! (until next year)
You have an additional 12 months to discover an alternative path to upgrade to Windows 11. If anything changes in the next year, we will update this story with next steps.
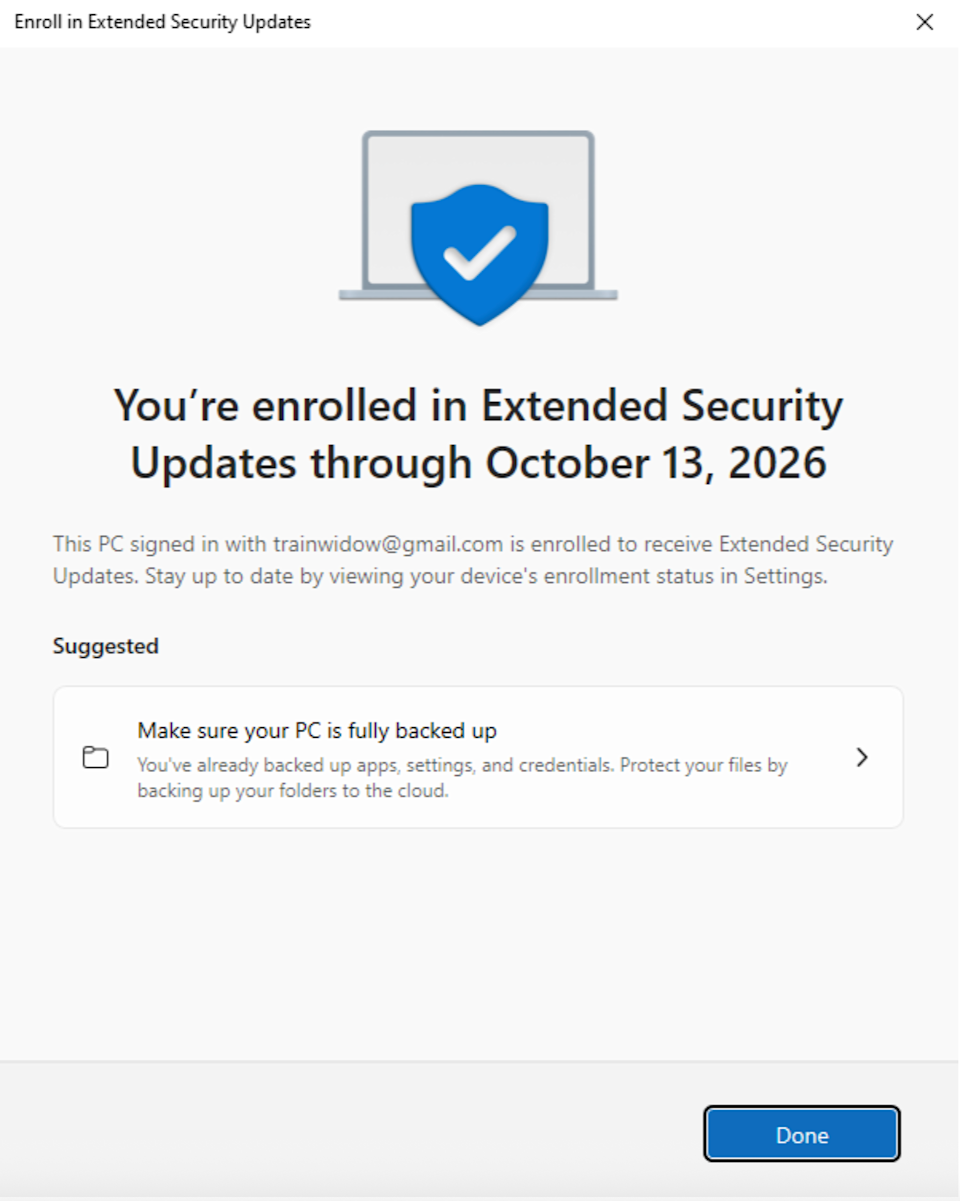
You did it correctly if you see this window. (Screenshot/Engadget)
Don’t miss more hot News like this! Click here to discover the latest in Technology news!
2025-10-13 14:25:00